

Dealing with a hacked website is stressful. If you are a reseller, you can face the anxiety of your clients. They see warnings, and sometimes, the complete website goes offline. For agencies and resellers, the situation becomes more sensitive as the reputation is directly connected to how quickly and professionally you respond.
The good news is that this hack does not replicate the permanent damage if the right steps are followed. As a reselling hosting services provider, a plan of action is required to reduce downtime and protect the client’s online sovereignty. This blog helps you with the right steps to keep your client’s website live.
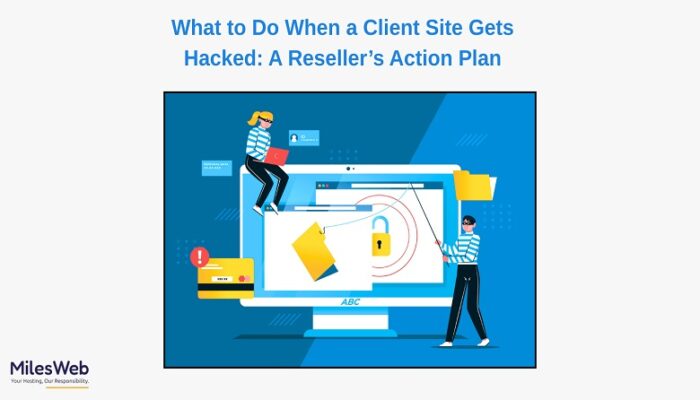
Blueprint of Resellers When Client’s Website is Hacked
Step 1: Stay Calm and Confirm the Hack Properly
The first step is verifying whether the website is truly hacked or simply facing a technical issue. Many times, a website shows unusual redirects, spam pages, or malware warnings, but also leads to the plugin conflict. Quickly check the website from different devices and browsers to verify if Google Safe Browser or other antivirus tools are flagging it.
Once confirmed, don’t make panic changes. Unplanned actions lead to data loss. Hence, back up your data and then start finding the virus or bugs.
Step 2: Isolate the Website to Protect Other Client Accounts
Cross-contamination is the biggest risk in reseller hosting services. It means one virus can infect the entire server on which other websites of clients are hosted. If one client’s website is hacked, you must ensure it doesn’t affect other websites on the same server. If you can isolate other websites from viruses, it restricts the spread and threat to vulnerabilities to other websites.
It is essential to protect your overall reseller hosting business. To avoid such cases, use a web hosting white label with a reseller bundled with advanced security configurations to mitigate cyber threat risks. MilesWeb offers top-notch, white-label reseller hosting plans protecting websites from DDoS attacks and other cybersecurity risks.
Step 3: Identify the Source of the Infection
Outdated plugins, weak passwords, and infected themes are the root causes of website hacking. Hackers usually penetrate websites through these digital assets. Moreover, infection may also be caused by a compromised admin account.
Check file modification dates, suspicious scripts, non-recognized users in administration, and suspicious cron jobs. Include checking of the wp-config.php, .htaccess files, and directories of the plugins. When the source is unavailable, the website can be reinfected despite being cleaned up.
Step 4: Delete Malware and Recover Core Files
Remove the corrupted file, malicious scripts, unknown files, and injected code. Install WordPress core files in the WordPress website. Do not do it by hand; use the assistance of automation tools.
Clean themes and plugin files carefully. There may be several infections concealed within valid files. In case of uncertainty, reinstall the themes and the plugins that are of a trusted origin. The idea is not only to eliminate the malware that can be seen, but also to have a clean and healthy website environment.
Step 5: Restore from a Clean Backup If Needed
If the infection is spreading, restore it from a clean backup. It is the fastest and safest approach. However, you must ensure the backup is from a date before the hacking attempt. Or else, you may restore infected files again.
Once it has been restored, compare the restored website to the latest WordPress website versions. Immediately update everything. Clean restoration is time-saving; however, when used together with updates and security patches, the website is no longer at risk of being hacked.
Step 6: Change Passwords and Secure Every Access Point
Change all passwords after cleaning the website. These are WordPress usernames and passwords, database usernames and passwords, FTP/SFTP usernames and passwords, cPanel usernames and passwords, and email usernames and passwords, as may be necessary. Many hacks occur due to password reuse or the use of weak passwords.
Remove admin access and unused accounts. Encourage clients to use strong passwords by enabling the 2FA method. If you secure only the website but ignore access points, the hacker can easily breach the data.
Step 7: Scan the Server and Monitor for Hidden Backdoors
Hackers often leave backdoors and hidden files, allowing them to regain access later. These may not trigger immediate malware warnings. Hence, scanning the full account and monitoring file changes is crucial after cleanup.
Use security tools and file integrity monitoring to detect suspicious activity. As a reseller, you should also check whether other client websites show unusual behaviour. A hack can sometimes indicate a server-level weakness that needs attention.
Step 8: Document the Incident and Build Client Trust
After recovery, provide the client with a simple incident report. Mention what happened, what was affected, what you fixed, and what preventive steps you implemented. Clients value transparency, especially after a security incident.
This documentation protects you as a reseller and builds long-term trust. It shows you don’t just fix the website but handle the incident professionally. Several clients stay loyal not because hacks won’t occur, but because their provider responds effectively when they do.
Conclusion
If a client’s website is brought down, the reseller is also expected to have additional responsibilities in relation to strategic issues, in addition to technical work. The reseller will be required to remove the threat, restore the website and all access points, and protect any other client accounts. The faster and better organized the reaction, the fewer losses the client will experience.
An effective action plan would turn an intimidating hack into a chance to prove trustworthiness. Trust is the greatest resource in reseller hosting, and how security incidents are dealt with will either keep clients with the reseller in the long term or not.